Project: Southern Gold Coast

Balcony Waterproofing & Retiling

The Problem

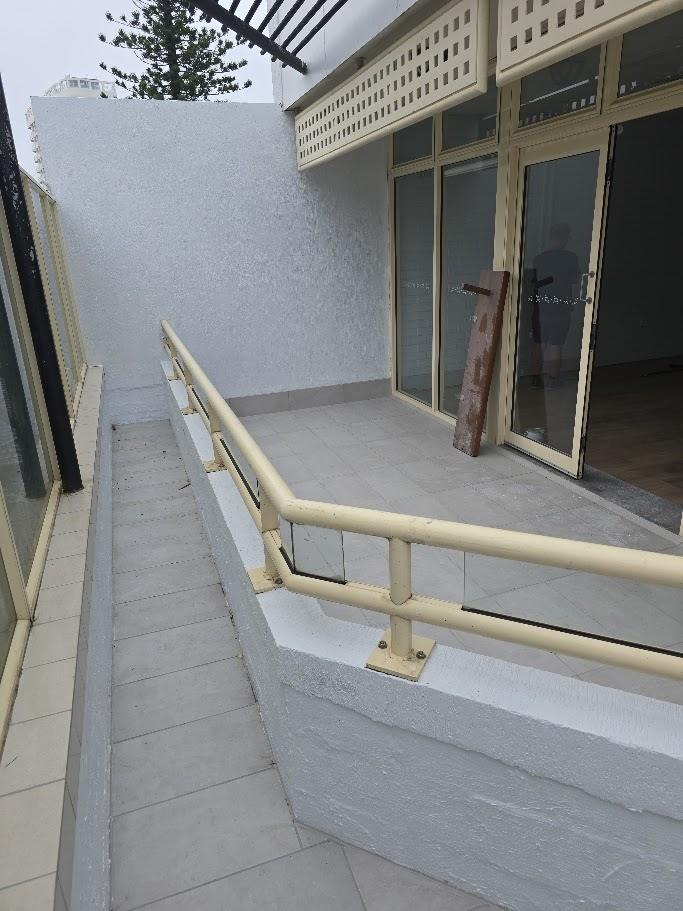
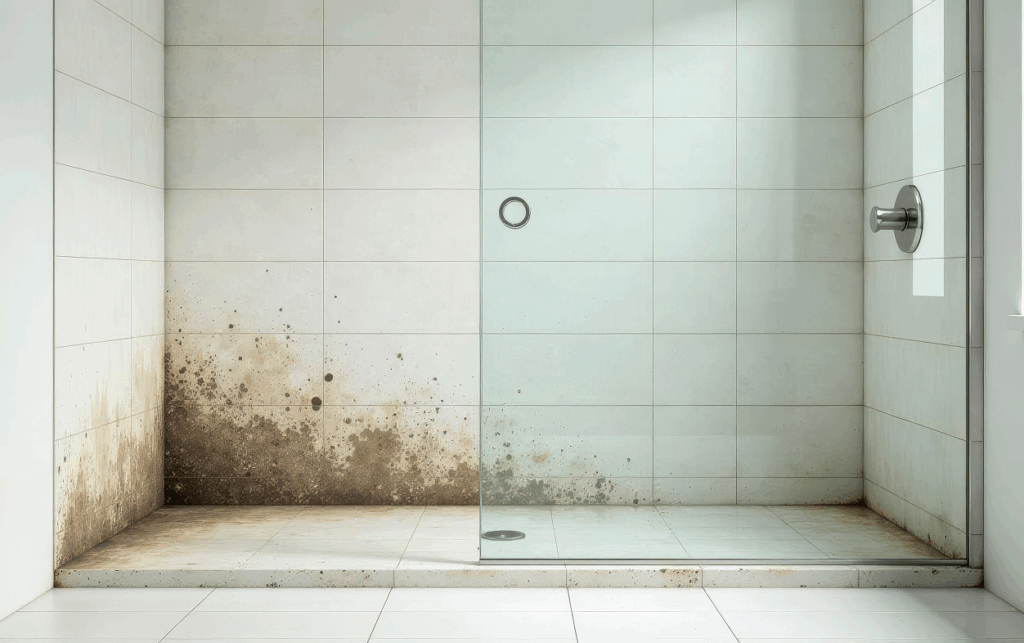
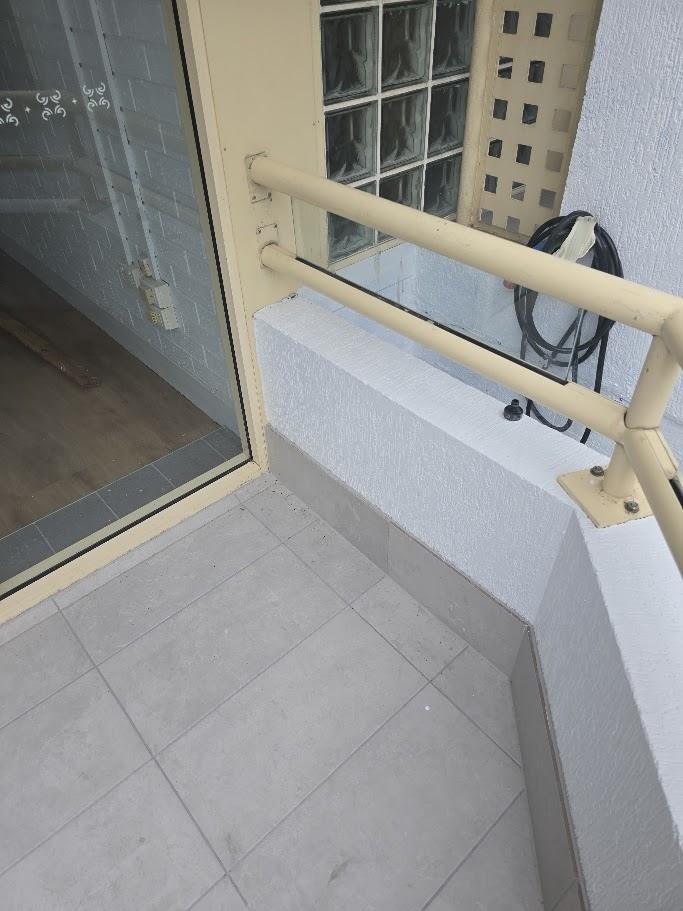
The property owner reported a leaking balcony causing water ingress into the shop below. The balcony area showed signs of high moisture, cracked and porous grout, failed waterproofing, and insufficient drainage. The issue was not only creating visible water damage but also disrupting the tenants operating in the lower tenancy.

Cracked and deteriorating grout between floor and wall tiles

Loose and discolored silicone along the shower edges

Signs of prolonged water penetration behind tiles

No signs of recent waterproofing or grout maintenance

The Problem

The property manager of a high-rise apartment in Brisbane’s CBD contacted us after receiving a complaint from the downstairs neighbour: water stains were forming on their ceiling — a classic symptom of a leaking shower above.

Upon inspection, we found the following issues:

Cracked and deteriorating grout between floor and wall tiles

Loose and discolored silicone along the shower edges

Signs of prolonged water penetration behind tiles

No signs of recent waterproofing or grout maintenance

Initial Assessment

Our inspection confirmed extensive moisture throughout the balcony substrate, with multiple cracks and failed joints in the existing grout. The waterproofing membrane had deteriorated beyond repair, and the existing drainage setup was not compliant with QBCC and AS 3740 waterproofing standards, contributing to water pooling and ongoing leaks.

Our Solution

Aquatech Grouting carried out a complete balcony restoration in line with QBCC requirements, including:

1.

Removal of existing garden beds, trees, and debris

2.

Full demolition of the damaged balcony surface

3.

Installation of a new compliant waterproofing system to AS 3740 standards

4.

Correcting and installing new drainage points to ensure proper fall and water flow

5.

Retiling the entire surface with premium exterior tiles

6.

Grouting with Mapei waterproof epoxy grout and sealing all junctions with flexible silicone

Step 1.

Surface Preparation

Carefully removed all old grout and degraded silicone

Cleaned tile edges using anti-fungal solution to prepare for regrouting

Taped off surrounding surfaces to ensure a clean finish

Step 2.

Grout Replacement

Installed waterproof grout throughout floor and lower wall joins

Selected a colour-matched grout to blend with existing tile tones

Focused on deep penetration for long-term bonding and water resistance

Step 3.

Joint Resealing

Applied high-performance neutral-cure silicone to all corners and joints

Ensured flexible sealing to withstand movement in the high-rise building

Step 4.

Surface Waterproofing

Applied a clear waterproof membrane coating across the shower floor and corners

Ensured water-tight protection while maintaining original tile appearance

Due to the commercial setting, works were completed after hours and on weekends to minimise business disruption. Despite limited access for material delivery and rubbish removal, the project was completed efficiently and ahead of schedule.

Our Solution

Here’s how we restored this shower in a single day. No tiles removed.

Step 1.

Surface Preparation

Carefully removed all old grout and degraded silicone

Cleaned tile edges using anti-fungal solution to prepare for regrouting

Taped off surrounding surfaces to ensure a clean finish

Step 2.

Grout Replacement

Installed waterproof grout throughout floor and lower wall joins

Selected a colour-matched grout to blend with existing tile tones

Focused on deep penetration for long-term bonding and water resistance

Step 3.

Joint Resealing

Applied high-performance neutral-cure silicone to all corners and joints

Ensured flexible sealing to withstand movement in the high-rise building

Step 4.

Surface Waterproofing

Applied a clear waterproof membrane coating across the shower floor and corners

Ensured water-tight protection while maintaining original tile appearance

The Result

At Aquatech, we do more than repair showers. We restore and protect them with proven methods that ensure lasting results and a clean, watertight finish.

Balcony fully waterproofed.

Balcony leak-free.

Modern finish and improved drainage.

Customer satisfaction.

Client Testimonial

5.0 Rating

The Aquatech team were fantastic — they worked around our trading hours and still finished faster than expected. The quality of work is exceptional, and best of all, the leak is completely gone. Couldn’t recommend them highly enough.

Commercial Property Owner

Southern Gold Coast

The Result

At Aquatech, we don’t just regrout. We rebuild your shower’s waterproof barrier with care and precision.

Leak completely resolved

No damage to existing tiles or walls

No need for costly renovations or retiling

Satisfied tenant and relieved property manager

Client Testimonial

5.0 Rating

The team at Aquatech grouting, sorted my bathroom fast, prompt and at a great price so happy with there work couldn’t recommend them enough!

Eric Christian

Aquatech Client

Stay Informed & Get Answers

Explore expert tips, helpful guides, and answers to common questions. Whether you’re after in-depth insights or quick info, we’ve got you covered.