

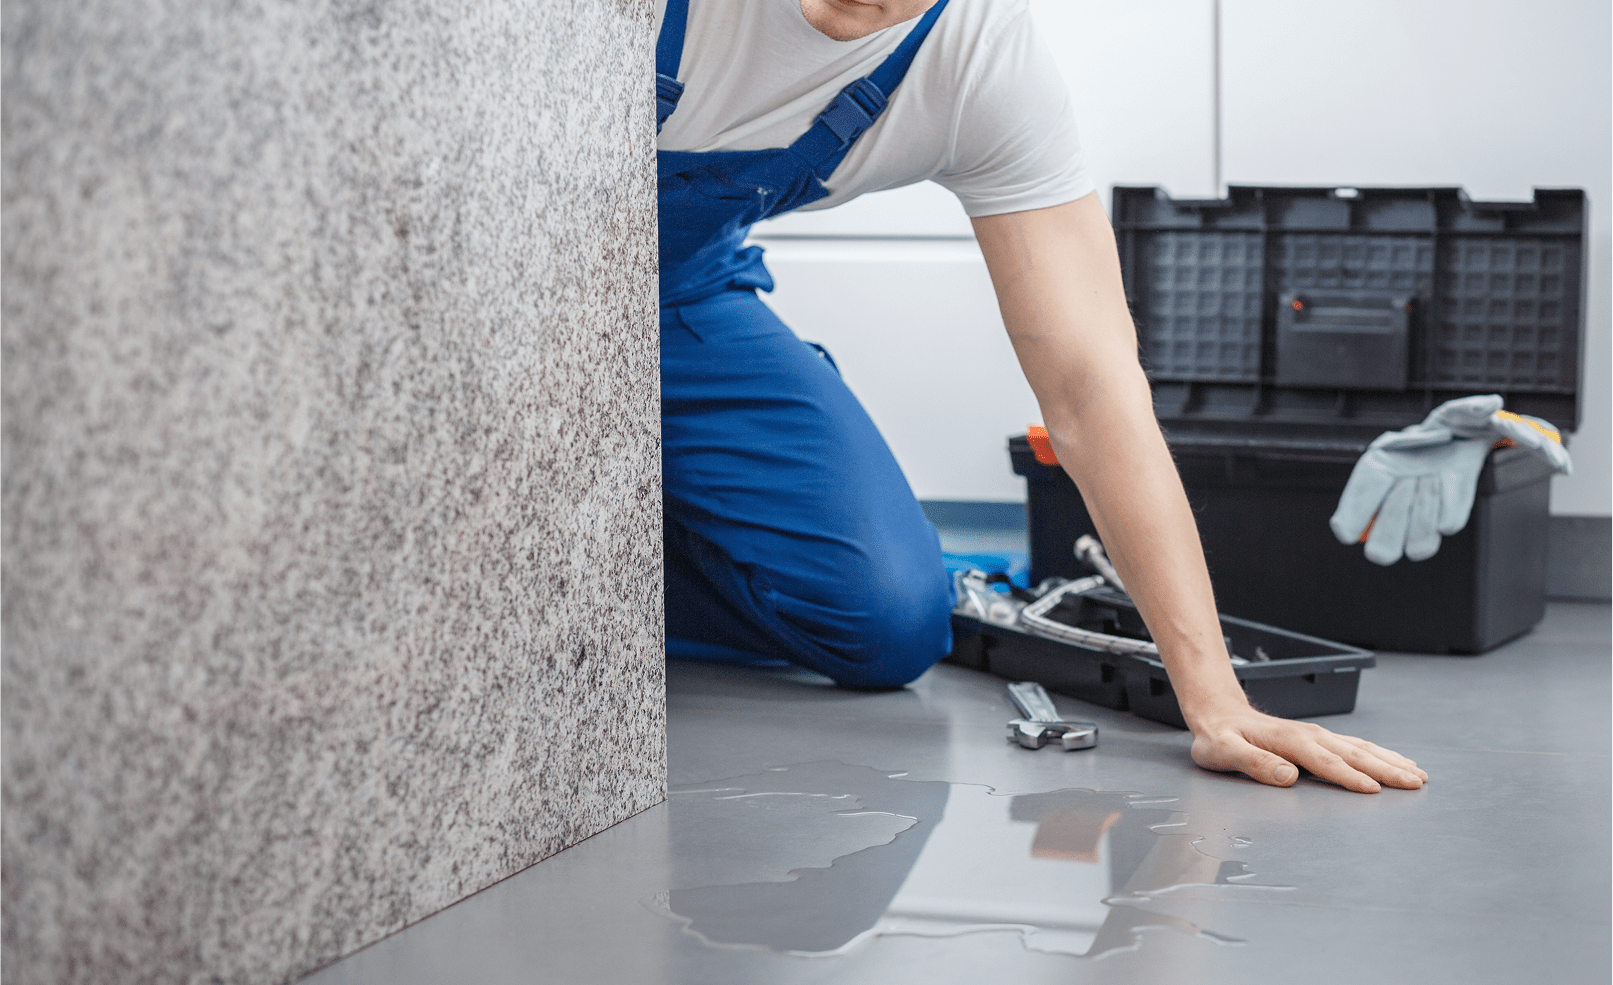
A leaking shower is one of those problems that is easy to ignore at first. It starts as a small drip. Then the water bill goes up. Then a water stain appears on the wall. Then the grout starts crumbling. What began as a minor inconvenience can quietly become structural water damage inside the wall cavity or under the shower floor, and in Queensland’s humid climate, mould is never far behind.
This guide is written for homeowners in Brisbane, the Gold Coast, and the Sunshine Coast who want to understand what is actually happening when a shower leaks, which repairs can be done yourself, which ones require a licensed professional, and how much each solution is likely to cost. Every section is written to answer a real question, not to pad word count.
Before any repair work is done, the source of the leak needs to be identified correctly. Many homeowners spend money replacing a shower head when the real problem is inside the wall. Getting the diagnosis wrong means the leak continues and the damage keeps building.
There are five distinct zones where a shower can leak, and each one has a different cause and a different fix.
Water is seen dripping from the point where the shower head meets the shower arm while the shower is running. This is the most visible and most easily fixed type of leak. The culprit is almost always a worn rubber washer, degraded O-ring, corroded thread, or an absence of thread seal tape (also called plumber’s tape or Teflon tape).
This is the only leak type that a confident DIYer can reliably fix without trade qualifications in Queensland.
Water continues to drip from the showerhead even after the tap has been fully turned off. Or water appears at the base of the handle itself during use. This is a strong sign that the internal cartridge or valve seat is worn. The mixer valve is the component inside the wall that controls both hot and cold water flow. When it wears out, it cannot form a complete seal, so water seeps through continuously.
This is not a DIY repair in Australia. Under Queensland plumbing regulations, any work involving the water supply, valves, or internal pipe connections must be carried out by a licensed plumber holding a current Queensland Building and Construction Commission (QBCC) licence.
Water is pooling beneath the tiles, soft spots are felt underfoot, or grout lines on the shower floor are cracking and pulling away from the tiles. This indicates that the waterproof membrane beneath the tiles has failed. In some cases, the shower screen seal has deteriorated, and water is running underneath instead of down the drain.
This type of leaking shower base is extremely common in older Queensland homes and in properties where a waterproofing-compliant renovation was not carried out in accordance with AS 3740. It cannot be fixed with sealant applied over the top of existing grout. The membrane itself needs to be addressed.
Water escapes from the edges, corners, or bottom channel of the shower screen during use. This is caused by deteriorated silicone seals around the screen frame, worn door seals, or a screen that has shifted on its base. Water seeping past the screen often travels underneath the shower tray or into the wall, causing concealed damage that is not immediately visible.
Fine cracks appear in grout lines. Tiles are becoming loose or hollow-sounding when tapped. Paint is peeling or bubbling on an adjacent wall. A damp or musty smell is present even after thorough drying. These are all signs that water has been penetrating through deteriorated grout for some time and is sitting behind the tiles against the wall substrate.
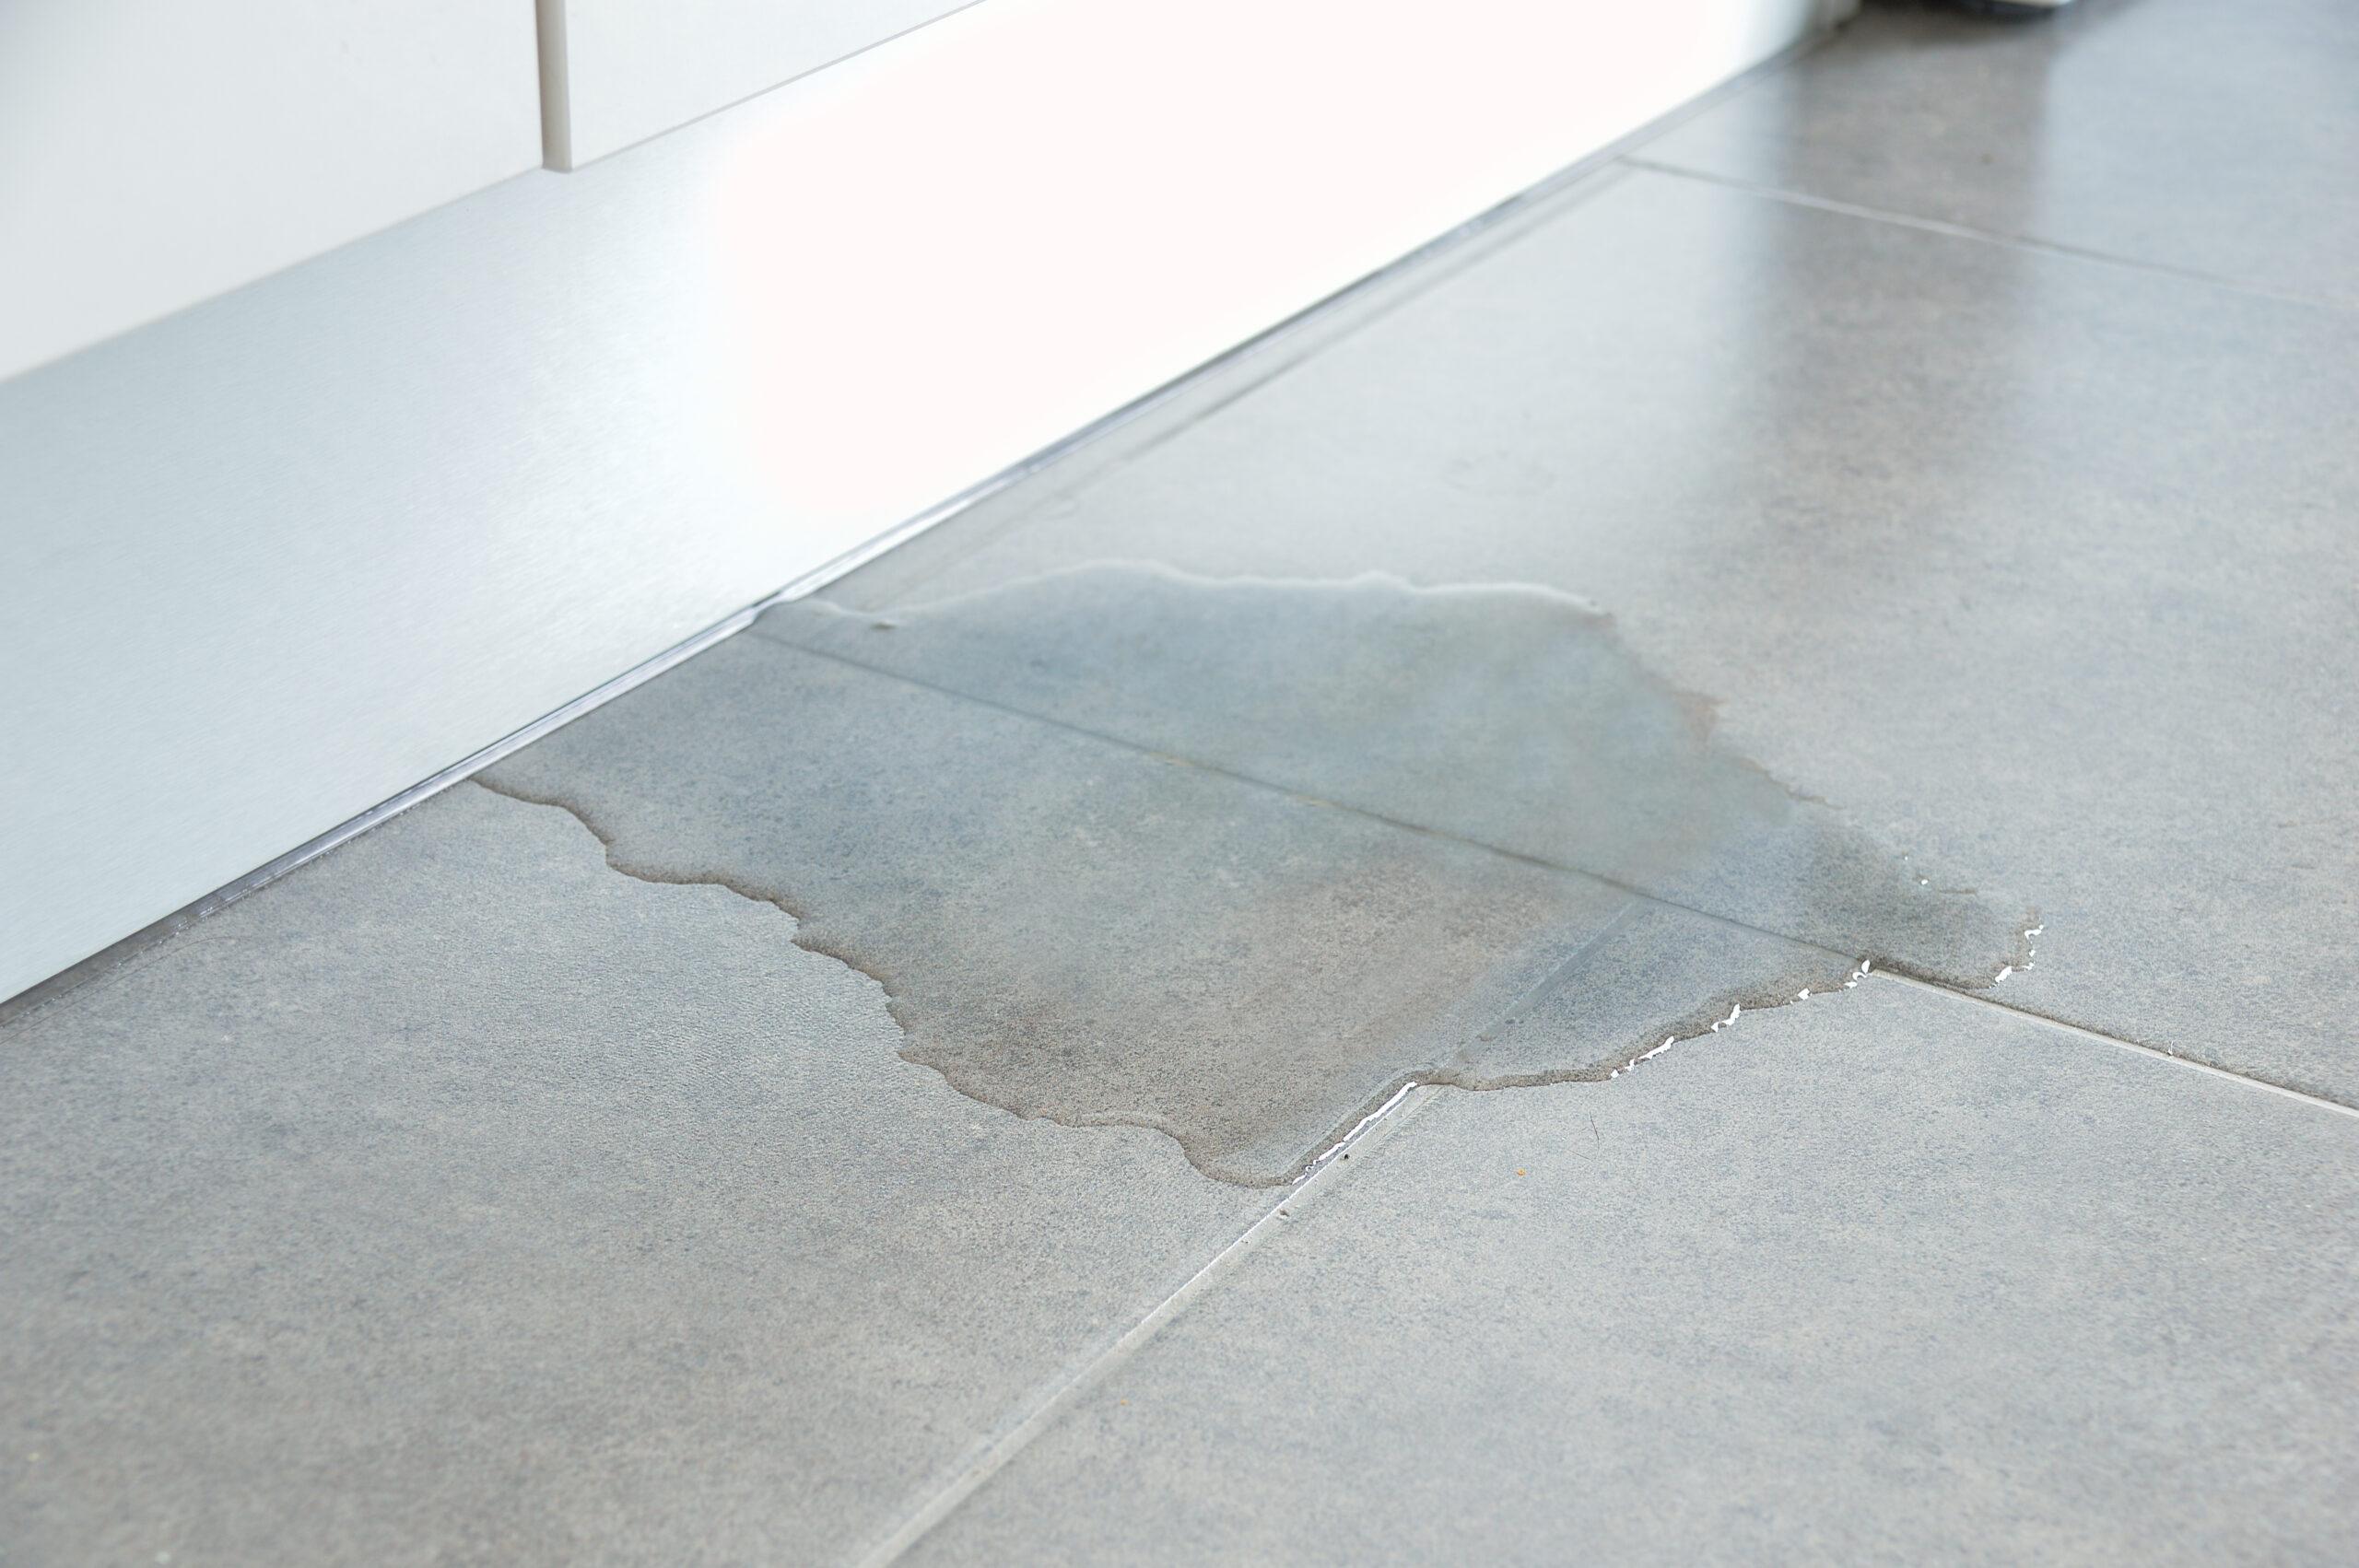
This is the repair that most people are searching for. A dripping showerhead that leaks at the connection point during use is something that can genuinely be addressed without a plumber, provided the problem is confirmed to be at the head itself and not at the valve.
What You Will Need?
These items are available at any hardware store across Brisbane, the Gold Coast, and the Sunshine Coast, including Bunnings and major plumbing supply outlets.
An adjustable wrench or slip-joint pliers, a soft cloth or rag to protect the chrome finish from tool marks, thread seal tape (Teflon tape, available in rolls), replacement rubber washers and O-rings in assorted sizes, white vinegar for descaling, and an old toothbrush for scrubbing mineral deposits.
Confirm the Water Supply Can Be Isolated
Before starting, locate the isolation valve for the shower. In most Australian homes, this is either under the bathroom vanity, inside a waterproof access panel in the shower wall, or at the main water meter. The water supply needs to be turned off completely before any disassembly is attempted.
Wrap the soft cloth around the base of the shower head where it meets the shower arm. Use the wrench or pliers over the cloth and turn counterclockwise to loosen the connection. Once loose, the shower head can be turned by hand and removed. Do not use excessive force on the shower arm itself, as the pipe connection inside the wall can be damaged if the arm is twisted.
Look inside the threaded opening of the shower head. A small rubber washer or O-ring sits at this connection point and creates the watertight seal. After years of use, heat cycling, and hard water exposure, these components become brittle, cracked, or flattened. If the washer looks deformed or damaged, it is the most likely cause of the drip.
Pry the old washer out gently using a flathead screwdriver or a sturdy paper clip. Take it to the hardware store to find an identical match, or purchase an assorted washer kit. Standard shower connections in Australia use a half-inch thread, but washer sizes vary between brands.
Peel away all remnants of old Teflon tape from the shower arm threads. Use the cloth to wipe the arm clean. Inspect the threads carefully for signs of corrosion, stripping, or physical damage. Threads that are stripped or severely corroded need professional attention. If the threads look intact, proceed to the next step.
Queensland tap water contains dissolved minerals, and over time, calcium and magnesium deposits build up inside the nozzles and internal components of the shower head. This buildup restricts water flow and can force water out through connection points under pressure. Submerge the shower head in a container of undiluted white vinegar and allow it to soak for a minimum of four hours, or overnight for heavy scale. Use an old toothbrush to scrub the nozzles and the internal filter screen before rinsing thoroughly under running water.
Starting at the base of the threads, wrap three to five layers of Teflon tape around the shower arm in a clockwise direction (as you face the threaded end). The clockwise wrapping direction is important. When the shower head is screwed on clockwise, tape wrapped in the same direction compresses into the threads and creates a better seal. Tape wrapped counterclockwise unravels as the head is tightened.
Press the tape firmly with your fingertip as you wrap so it adheres properly to the metal.
Drop the new washer into position inside the shower head’s threaded opening. Screw the shower head back onto the arm by hand until it is firmly seated, then use the cloth-wrapped wrench for one final firm quarter-turn. Do not overtighten. Overtightening crushes the washer, damages the threads, and actually worsens the seal.
Turn the water supply back on and check all connection points carefully for drips.
This is where many guides stop giving useful information and start hedging. The answer in an Australian context is clear.
Under the Plumbing and Drainage Act 2018 (Queensland) and associated regulations, unlicensed persons are not permitted to carry out any work involving water supply, drainage connections, or the internal components of a plumbing fixture. This includes replacing a shower valve cartridge, adjusting the mixer body, or modifying any connection within the wall cavity.
A leaking shower mixer tap in Queensland must be repaired by a licensed plumber. This is not a legal technicality. Shower valves operate under mains water pressure. Incorrect repairs can cause flooding, concealed water damage, and, in the case of thermostatic mixers, a risk of scalding. A licensed plumber carries public liability insurance, and their work is backed by statutory warranties under Queensland law.
The licensed plumber isolates the water supply, removes the handle and trim plate, extracts the worn cartridge or valve seat, and installs an exact-match replacement component. In many cases, the cartridge is brand-specific, meaning the make and model of the tapware needs to be identified before parts are ordered. Common Australian brands include Caroma, Kohler, Methven, Milli, and Grohe.
The cost of this repair in Brisbane, the Gold Coast, and the Sunshine Coast typically falls between $180 and $450, including parts and labour, depending on the brand, cartridge availability, and any additional access work required.
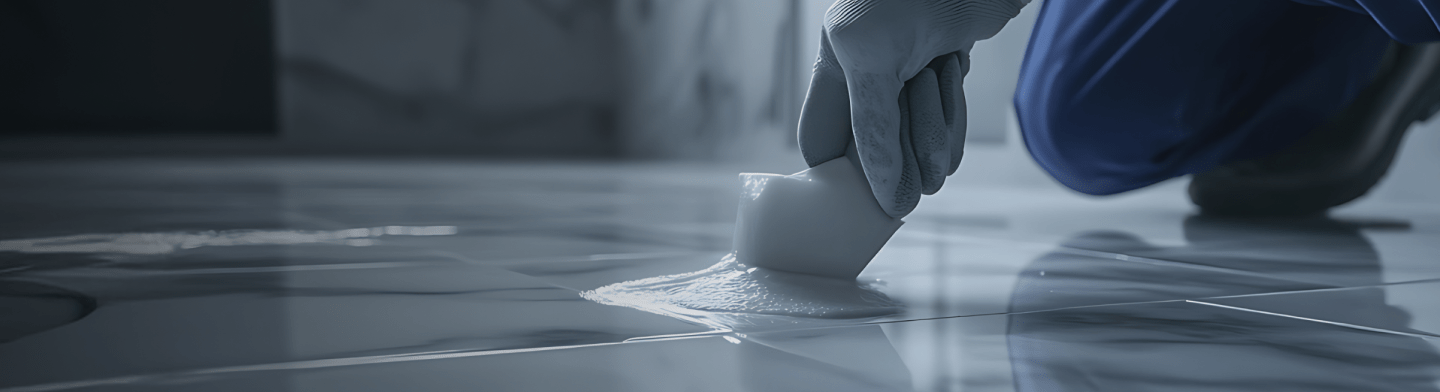
A leaking shower floor is a different problem entirely from a leaking shower head. The source of the water is below the tile surface, meaning it is not visible, and the damage it is causing is inside the structure of the bathroom floor.
The waterproof membrane beneath shower tiles has a service life. In Australian residential construction, the relevant standard is AS 3740:2021, which governs the waterproofing of wet areas. Older homes, particularly those built before 2004, were often constructed to less rigorous standards. Membranes that were thin, improperly applied at junctions and corners, or installed without adequate curing time will eventually fail.
Hard water movement, thermal expansion of tile adhesive, and the physical stress of daily use all contribute to the gradual deterioration of both the membrane and the grout lines above it. Once the grout cracks, water has a direct path to the substrate.
The tiles on the shower floor feel soft or springy underfoot. Individual tiles have become loose. Grout lines have cracked or are missing in sections. Water stains appear on the ceiling of the room below the bathroom. A damp smell persists in the bathroom even after good ventilation.
Applying new sealant or grout over existing grout does not fix a failed waterproof membrane. The water is already bypassing the grout layer and getting to the substrate. Surface-applied sealants do not bond adequately to contaminated or movement-affected grout, and they do not restore a membrane that has separated from the substrate.
The correct repair approach depends on the extent of membrane failure and whether the substrate has been compromised. There are two primary methods used by certified waterproofing specialists in Queensland.
The first is regrouting combined with waterproof sealant injection into the grout lines, which is suited to situations where the membrane is intact but the grout has failed. This is a less invasive option that can restore the watertight integrity of the shower floor without removing tiles.
The second is a full wet area strip and rebuild, which involves removing the existing tiles, stripping back to the substrate, applying a new AS 3740-compliant membrane, and retiling. This is the only reliable solution when the membrane has failed or the substrate has been structurally affected by water ingress.
For leaking shower floors in Brisbane, the Gold Coast, and the Sunshine Coast, both types of repair are available through professional waterproofing and regrouting services. A QBCC-licensed waterproofing specialist can assess the extent of membrane failure and recommend the appropriate scope of work. Aquatech Grouting covers both approaches in detail, from regrouting a shower without removing tiles through to a full wet area strip and rebuild where the waterproof membrane has failed.
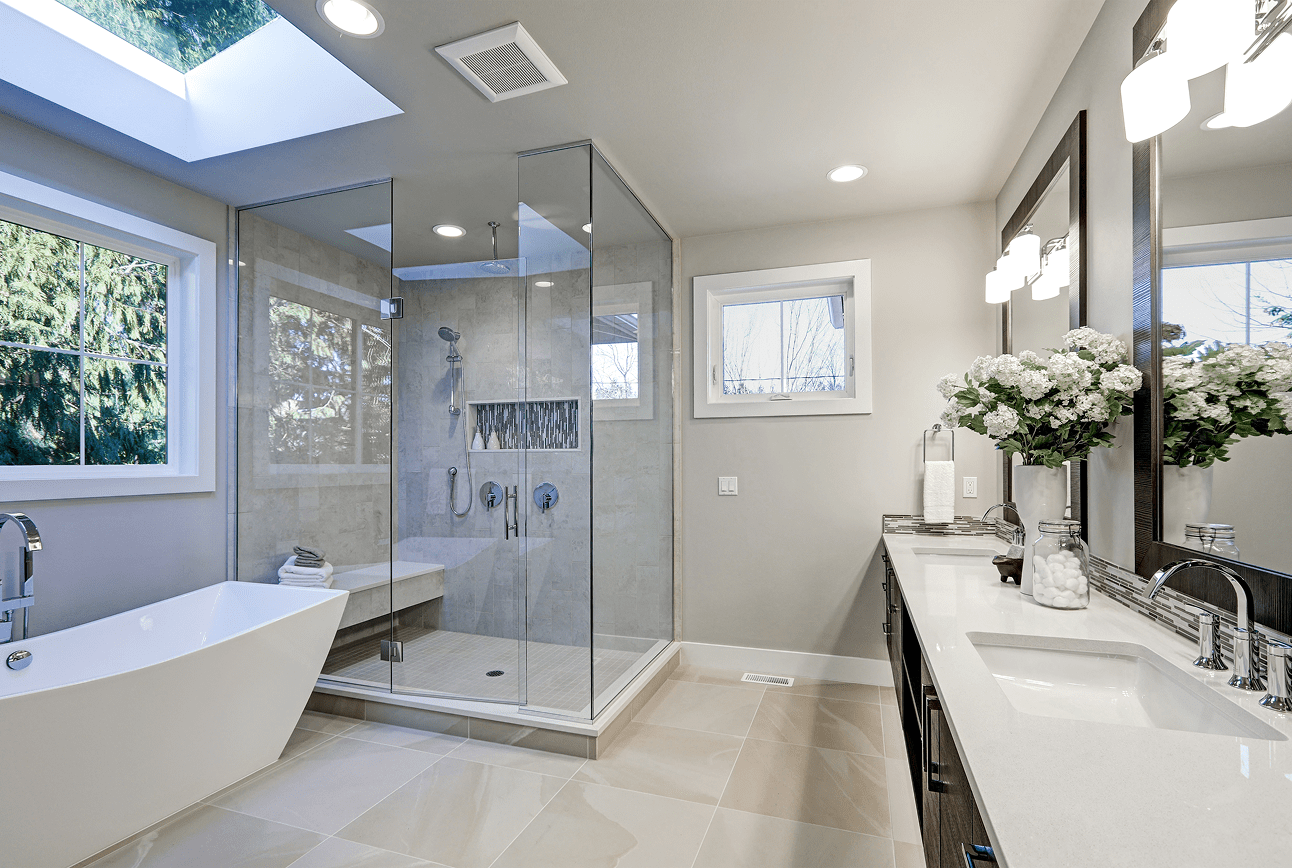
The shower screen seal fails for two main reasons. Silicone degrades with age, becoming brittle, discoloured, and no longer watertight. Or the screen itself has moved, either from settlement of the building structure or from repeated physical pressure on the glass panels during use.
The silicone bead around the base and edges of the shower screen can be removed and replaced as a DIY task in most circumstances. Use a silicone removal tool or a sharp blade to cut away the old bead carefully without scoring the tile surface. Clean the joint thoroughly using isopropyl alcohol to remove any residue. Apply a fresh bead of mould-resistant silicone sealant rated for wet areas, smooth it with a gloved finger, and allow it to cure for a minimum of 24 hours before using the shower.
Sanitary-grade silicone sealants are available at hardware stores and typically cost $15 to $25 per tube. This repair is within reach of most homeowners.
If the screen has shifted or if the frame has separated from the wall, the repair becomes more complex. Frameless and semi-frameless screens require precise alignment to maintain their seal, and the fixing points into the tile or wall must be watertight. An incorrectly fitted shower screen that is not properly resealed will continue leaking regardless of how much silicone is applied over the surface.
Aquatech Grouting supplies and installs frameless and semi-frameless shower screens across Brisbane, the Gold Coast, and the Sunshine Coast. More details about what is involved, including glass specifications and fixing methods, are available for homeowners considering a new shower screen installation in Brisbane.
The cost is one of the most commonly searched questions related to shower repairs, and most content on this topic is vague. The figures below reflect the current market in South East Queensland, specifically across Brisbane, the Gold Coast, and the Sunshine Coast, and are provided as indicative ranges rather than fixed quotes.
Materials cost: $5 to $20. A washer kit, a roll of Teflon tape, and white vinegar. Time required: 20 to 45 minutes. No trade qualification is required.
A quality chrome shower head from an Australian retailer costs $60 to $300, depending on specification. Installation by a licensed plumber, if required, adds $100 to $200 in labour.
Total cost including parts and labour: $180 to $450. The cost varies based on the brand, cartridge availability, and the complexity of access.
DIY materials: $20 to $40. Professional reseal by a tile and grout specialist: $1,100 to $2,100, depending on the size of the shower and the number of joints.
Professional regrouting of a standard shower cubicle in Brisbane or the Gold Coast: $1,100 to $2,100, depending on the size, condition of existing grout, and whether epoxy grout is used. This is the appropriate repair when grout failure is the primary cause of water penetration.
Non-invasive injection-based membrane repair: $500 to $1,500. Full wet area strip and rebuild: $3,000 to $8,000 or more, depending on the size and scope. These figures do not include the cost of matching replacement tiles.
When the source of a shower leak cannot be confirmed visually, professional leak detection services use thermal imaging, acoustic sensors, and moisture meters to locate the water path without invasive access. In Brisbane, the Gold Coast, and the Sunshine Coast, a professional leak detection inspection typically costs $200 to $500.
Aquatech Grouting provides this service for residential and commercial properties across South East Queensland. The methods used, including thermal imaging and acoustic testing to locate hidden water paths without breaking tiles, are explained in detail for anyone dealing with concealed shower leak detection in Brisbane.
Not all shower leaks have the same cause, and not all repair providers have the same scope of expertise.
The Queensland Building and Construction Commission (QBCC) licences contractors to carry out building work, waterproofing, and plumbing in Queensland. For shower repairs that involve waterproofing membrane work, tiling, or any structural wet area work, the contractor must hold the appropriate QBCC licence class. Unlicensed waterproofing work is not covered by statutory warranties and may create issues at the point of property sale.
Properties in Brisbane span a wide age range, from post-war Queenslander homes where bathrooms were added or renovated in the 1980s and 1990s, to new apartments where the quality of waterproofing installation varies significantly. The most common shower repair request in Brisbane involves grout failure and deteriorated waterproof membrane, often presenting as a leak into the room below or visible staining at the base of walls.
The Gold Coast’s high-density apartment market means that leaking showers in strata properties are a frequent and often complex issue. Water penetration from a shower on an upper floor can affect the apartment below, creating body corporate liability questions and the need for accurate leak localisation before repairs begin.
The Sunshine Coast’s coastal environment and humid subtropical climate accelerate the deterioration of silicone seals and grout. Salt air exposure is a significant factor in beachside properties. Shower screens in coastal locations require more frequent seal inspection and replacement than properties further inland.
This is a point that multiple competitors address, and it is worth stating clearly because misunderstanding it leads to wasted money.
When water drips from the shower head while the tap is in the fully closed position, the shower head itself is not the problem. The problem is that water is bypassing the internal valve seal and reaching the shower arm. This can only happen if the cartridge or valve seat inside the wall-mounted mixer has worn out and is no longer forming a complete closure.
Replacing the shower head in this situation will not stop the drip. The new shower head will drip just as the old one did, because the water is coming past the valve, and the shower head has no mechanism to stop it.
The correct diagnosis matters. A drip during operation usually points to the shower head connection. A drip after shutdown points to the valve.
In shower and bath combination setups where a single tapware unit feeds both the tub spout and the shower head, water should travel through the spout by default and be diverted to the shower head only when the pull-up diverter on the spout is activated.
When the tub spout is partially blocked by mineral scale or when the diverter mechanism is worn, water cannot flow freely through the spout during bath use. The path of least resistance becomes the pipe leading up to the shower head, and water begins flowing upward to the shower head even when the diverter has not been activated.
This presents as a leaking shower head but is actually a blocked or worn tub spout. The fix is the replacement of the tub spout, not the shower head.
This scenario is far more common in Australian homes than most repair guides acknowledge.
This section exists because the answer to this question changes the urgency calculation for many homeowners who have put off dealing with a shower leak.
Water that escapes from the shower enclosure and enters the wall or floor cavity does not evaporate. It saturates the substrate, moves through timber framing, and creates sustained damp conditions. Three consequences follow in predictable sequence.
The cost of repairing a shower that has been leaking for two years is significantly greater than the cost of the repair that should have been done in the first month. Water damage is cumulative, and delays make it worse.
Prevention is a meaningful part of shower management and is worth addressing directly.
The silicone beads around the shower screen base, the junction between the wall tiles and the shower tray, and the edges of the screen frame should be inspected annually. Discolouration, cracking, or pulling away from the surface are signs that the silicone has begun to fail and should be removed and replaced before water penetration begins.
Grout is porous. Over time, repeated wetting and drying cycles cause grout to shrink slightly and develop micro-cracks. Water penetrating through degraded grout reaches the adhesive layer beneath the tiles, and over time, the adhesive bond weakens. Regrouting a shower before the grout has failed is far less expensive than regrouting after water has damaged the substrate.
A shower that is used daily in a Queensland climate should be inspected for grout condition every two to three years.
High water pressure accelerates wear on rubber seals, cartridges, and O-rings throughout the plumbing system, including in the shower. Residential water pressure in Australia is typically set between 200 and 500 kilopascals (kPa). Pressure above 500 kPa causes premature wear on seals and increases the likelihood of leaks developing in multiple locations simultaneously.
A pressure-limiting valve (PLV) can be installed by a licensed plumber to bring supply pressure into an appropriate range.
The ceramic disc cartridges used in contemporary single-lever shower mixers typically last eight to fifteen years under normal use. In areas with harder water (which includes parts of South East Queensland), scale deposits can shorten this service life. When a mixer begins to feel stiff or develops a drip at shutdown, the cartridge is approaching the end of its life and should be replaced by a licensed plumber before it fails and causes water to run uncontrolled inside the wall cavity.
The decision about whether to attempt a repair yourself or engage a professional is a practical one and does not need to be complicated.
A DIY approach is appropriate when the leak is at the shower head connection point only, when the shower head can be removed without tools or with basic tools, when the threads are undamaged, and when a new washer or O-ring corrects the problem after reassembly.
A professional is needed when the drip continues after the shower is turned off, indicating a valve issue. When the leak source cannot be identified visually. When water staining is visible on an adjacent wall or on the ceiling below. When tiles are loose or the floor feels soft. When multiple locations are leaking simultaneously. When any work involves the water supply line, valve body, or internal pipe connections in Queensland.
For Brisbane, the Gold Coast, and the Sunshine Coast properties, Aquatech Grouting provides professional assessment, leak detection, regrouting, waterproofing, shower screen supply and installation, and full shower repair services. Work is carried out under a QBCC license and in compliance with AS 3740:2021. A free shower repair quote can be requested online or by calling the team directly.
If you are unsure whether your situation requires professional attention, a detailed explanation of what AS 3740-compliant wet area waterproofing involves covers the membrane standards, substrate requirements, and tile installation process applied to every new shower in Queensland.
In many cases, yes. When the leak is confined to grout failure rather than full membrane failure, a regrouting repair can restore the watertight integrity of the shower without tile removal. Non-invasive techniques also exist for injecting waterproof sealant into compromised joints from the surface. An inspection by a qualified waterproofing specialist is the only reliable way to determine which approach is appropriate for a specific situation.
Professionally applied epoxy grout, which is the standard used by waterproofing specialists rather than standard cementitious grout, is significantly more durable and resistant to mould, staining, and water penetration than standard grey grout. When correctly applied to a properly prepared surface, epoxy grout in a residential shower can last fifteen years or more.
Coverage depends on the specific policy wording and on the nature of the damage. Sudden and accidental water damage, for example, a burst pipe, is generally covered. Gradual water damage resulting from a long-running, unrepaired leak is typically excluded under most Australian home and contents policies because it was a maintenance issue that should have been addressed. It is worth reading the specific Product Disclosure Statement of your policy and speaking with your insurer directly.
The replacement of a shower head is classified as restricted plumbing work in Queensland if it involves the water supply. However, in practice, many homeowners remove and reattach a shower head at the threaded connection without affecting the water supply line. If you are only replacing the head at the arm connection and no cutting, soldering, or supply modification is involved, the work sits in a grey area. For any uncertainty, consulting a licensed plumber is the most conservative and legally safe approach.
These are entirely different problems with different causes, different symptoms, and different repair methods. A leaking showerhead involves water escaping at or near the fitting at the top of the shower. A leaking shower base involves water escaping beneath the tile surface on the shower floor, most commonly because the waterproof membrane has failed. The two can occur simultaneously in a shower that has not been maintained, which is why a thorough professional inspection that assesses both zones is valuable before any repair work begins.
Soft or spongy tiles underfoot, hollow sounds when tiles are tapped, loose or detached tiles, persistent damp smell in the bathroom despite adequate ventilation, water stains on adjacent ceilings or walls, and grout lines that crack repeatedly despite being repaired are all indicators of membrane failure. None of these symptoms can be confirmed definitively without professional assessment, and some require moisture mapping or thermal imaging to establish the extent of water ingress.