A shower that is dripping into the wall, staining the ceiling of the room below, or growing mould along the silicone bead is not always in need of a full renovation. In many cases, shower resealing is what resolves the problem at a fraction of the cost, without pulling tiles, and without days of disruption.
This guide covers everything that matters: what shower resealing actually involves, how it differs from regrouting, what the costs look like across different service levels, how long the process takes, and, most importantly, when a reseal alone is not going to be sufficient.
Shower resealing is the process of removing failed silicone sealant and replacing it with fresh, flexible, waterproof sealant across the joints inside a shower. Those joints sit where the walls meet the shower floor, along internal corners, around the shower screen frame, and around any penetrations such as taps or drain fittings.
Sealant is not the same as grout. Grout fills the gaps between individual tiles and is rigid. Sealant fills movement joints and areas where two surfaces meet, and may shift slightly with temperature changes or with the natural movement of a building. These zones require a flexible material, not cement.
When that silicone sealant cracks, shrinks, or peels away, water enters behind the tiles and into the substrate beneath. Resealing specifically replaces that sealant layer. It does not automatically include regrouting the tile joints, although both are often carried out together when a shower has aged.
There is no single type of shower resealing. The right approach depends on which material has failed, which part of the shower is affected, and whether the work is being carried out as planned maintenance or in response to a visible problem. Understanding the distinctions helps in getting the right service rather than a partial fix.
The sealant material used in a reseal determines how long the result lasts and how well it performs in the specific conditions of the shower.
Standard neutral-cure silicone is the most widely used product for shower resealing in Australia. It is flexible, mould-resistant, and suited to the movement that occurs at wall-to-floor junctions and around screen frames. Neutral cure formulations are compatible with most tile surfaces and do not release acetic acid during curing, which makes them appropriate for use on natural stone, anodised aluminium, and sensitive surfaces.
Acetoxy-cure silicone releases acetic acid as it cures, which produces the familiar vinegar smell. It bonds well to glass and some ceramics, but is not recommended near natural stone, metal, or mirrors, where the acid can cause staining or damage. It is a cheaper product but carries application restrictions that make it less appropriate for professional shower resealing.
Polyurethane sealant is occasionally used in commercial wet area applications where very high movement is anticipated. It is more difficult to apply and tool neatly, and it is not the standard product used in residential shower resealing.
Epoxy-based products are used in grout joints rather than in movement joints. A shower reseal that also involves replacing cement grout with epoxy grout is a combined service rather than a pure reseal. Epoxy grout absorbs approximately 50 times less water than cement grout and resists mould, staining, and chemical cleaning products.
Sealant Material | Best Use | Longevity | Notes |
Neutral cure silicone | All shower joints, stone, and metal | 3 to 5 years | Standard professional choice |
Acetoxy-cure silicone | Glass, ceramic only | 3 to 5 years | Not for stone or anodised metal |
Polyurethane sealant | High movement commercial joints | 5 to 8 years | Harder to apply; not typical for residential |
Epoxy grout | Tile joints (not movement joints) | 10 to 15 years | Combined with reseal for full coverage |
The zone being resealed changes what the job involves and how it is priced.
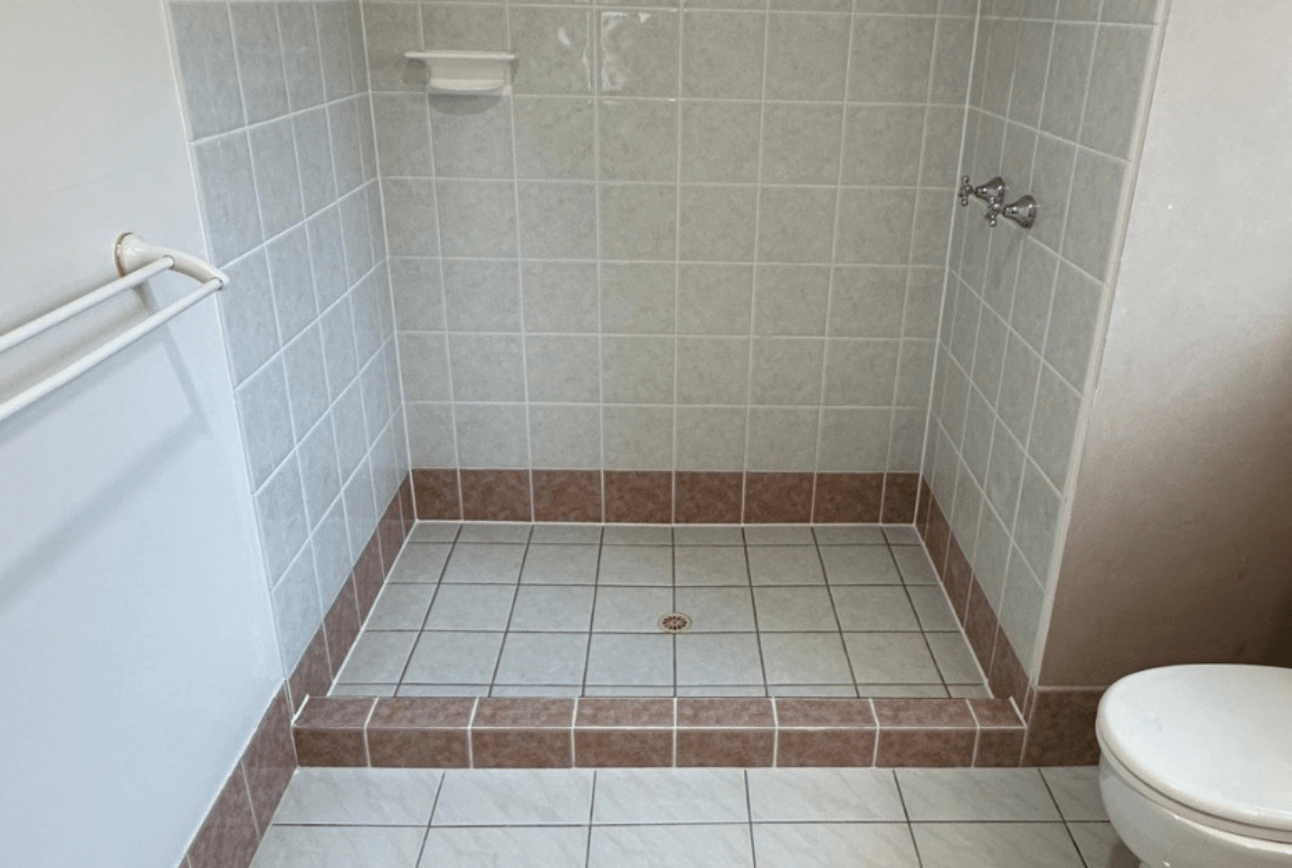
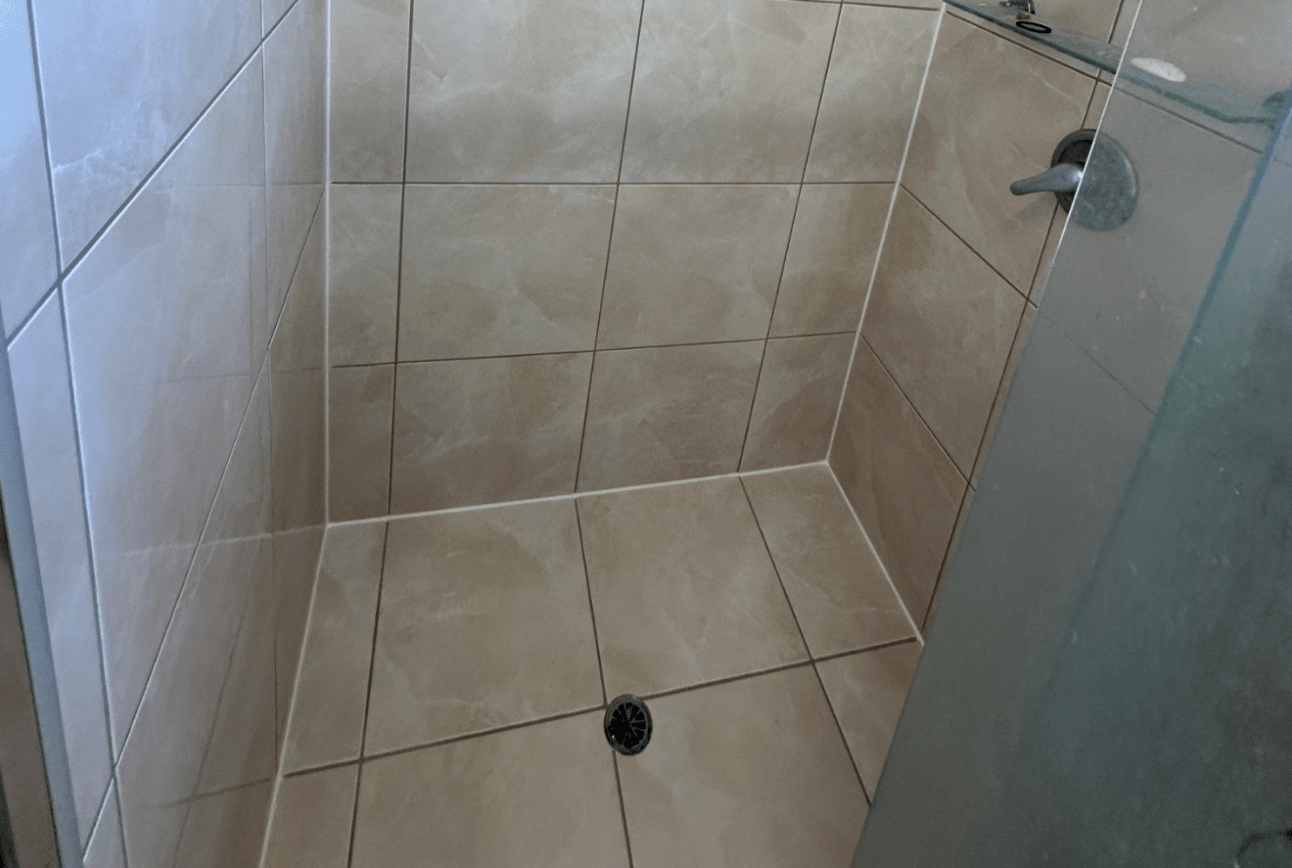
Corner and internal angle resealing addresses the joints where two tiled walls meet inside the shower. These are high-movement areas that should always be filled with silicone rather than grout. Resealing here is the most straightforward type of shower reseal and is often included in any basic reseal service.
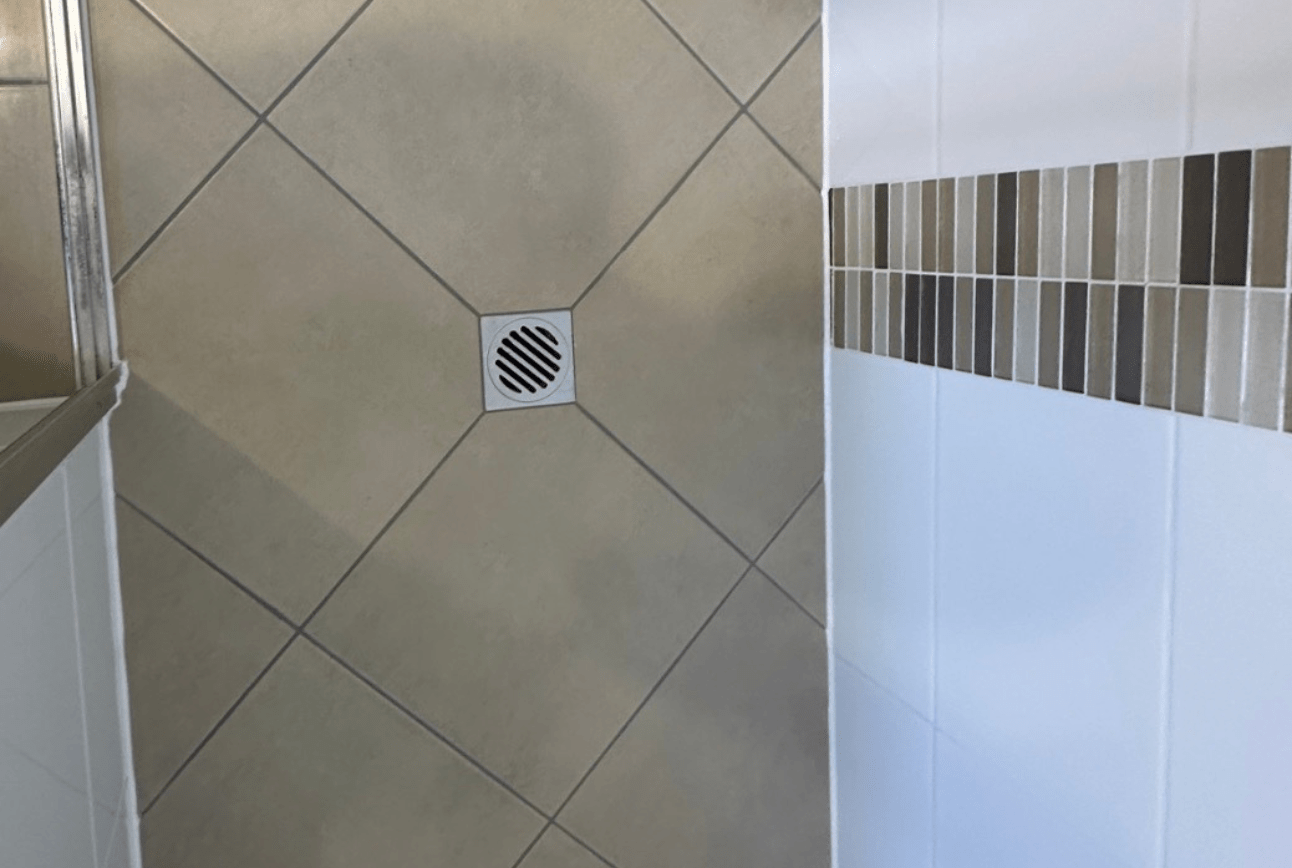
Shower base and floor junction resealing addresses the joint where the tiled walls meet the shower floor or tray. This is the highest-risk zone for water entry and the most commonly failed joint in Australian showers. A full perimeter reseal at the base is included in any complete service.
Shower screen frame resealing addresses the silicone at the outer edge of the screen frame where it meets the tiled wall and floor. The frame must be sealed on the outside only. Resealing here sometimes requires the screen to be removed and refitted if old sealant beneath the frame base has failed.
Shower head and tapware penetration resealing addresses the joints where plumbing fixtures pass through the tiled wall surface. These joints are often overlooked in partial reseal jobs and are a common secondary water entry point.
How much of the shower is addressed in a single service defines the scope and the cost.
A maintenance reseal is carried out on a shower that has no visible failure but is approaching the end of the typical sealant lifespan. The old sealant is removed and replaced as a planned maintenance action before any water entry occurs. This is the lowest-cost intervention and prevents the accumulation of damage that makes later repair more expensive.
A repair reseal is carried out after sealant failure has already occurred and water may have been entering the substrate. The scope is the same as a maintenance reseal, but the substrate condition must be assessed first. If the substrate has absorbed moisture, drying time may be needed before new sealant can be applied.
A full regrout and reseal addresses both the tile joint grout and the movement joint silicone in a single service. This is the appropriate scope when both materials have deteriorated simultaneously, which is common in showers that have not been maintained for five or more years.
A post-renovation reseal is carried out after new tiling or a bathroom renovation to ensure all movement joints are filled with silicone rather than grout and that all new sealant is applied correctly to compliant standards before the shower enters regular use.
Shower resealing is not a cosmetic service. The outcomes from keeping sealant in good condition are structural, financial, and practical. Understanding what resealing actually protects against makes it easier to assess whether the timing and cost are justified.
The primary function of sealant in a shower is to prevent water from moving from the shower interior into the wall cavity, floor substrate, or subfloor beneath. A failed sealant joint, even a small one, allows water to enter every single time the shower is used. Over months and years, that continuous moisture exposure breaks down tile adhesive, softens plasterboard wall linings, and can reach timber framing and floor joists.
Resealing restores that barrier before the accumulation of damage becomes a structural problem. A shower that is resealed as a maintenance measure every three to five years rarely produces the kind of substrate damage that requires full tile removal and re-waterproofing.
Mould in a shower is widely treated as a cleaning problem. In most cases, it is a moisture problem. Surface mould on tiles or grout is removed with cleaning products. Mould that has established itself inside the wall cavity behind tiles is a different matter. It cannot be cleaned away, and the only resolution is to open the wall, dry the structure, treat the mould, and rebuild.
Resealing at the point where sealant begins to show signs of fungicide depletion, typically when mould no longer wipes away cleanly, prevents moisture from reaching the wall cavity and establishing the conditions that make cavity mould possible.
A shower that is maintained with periodic resealing and regrouting when needed can remain fully functional for decades without requiring a full retile or rebuild. The alternative, ignoring deteriorating sealant until water damage becomes visible in adjacent rooms or on ceilings below, almost always results in a more extensive and expensive intervention than a maintenance reseal would have cost.
A shower with visibly failed sealant, persistent mould, and evidence of water staining is noted in pre-purchase building inspections. This is documented as a maintenance defect, and depending on severity, it can affect a buyer’s assessment of the property’s overall maintenance standard. A professionally resealed shower presents as maintained and in good condition during inspection.
For landlords and property managers, a maintained shower also reduces the risk of tenant complaints, water damage liability claims, and the cost of emergency repairs between tenancies.
Deteriorated silicone sealant with established mould is not fully cleanable regardless of the products used. The mould is in the sealant material itself, not just on the surface. Replacing that sealant with fresh, mould-resistant silicone removes the source of the hygiene problem rather than treating it repeatedly with surface cleaners.
A freshly resealed shower is also easier to maintain because smooth, intact silicone does not provide the porous surface that mould spores need to take hold quickly.

Silicone sealant is not designed to last indefinitely. In a household shower used daily, sealant is exposed to heat, steam, cleaning products, and physical movement every single day. Most standard bathroom silicones begin to degrade within three to five years.
This is a detail almost no competitor discusses. All bathroom-grade silicone sealants contain fungicide chemicals specifically included to repel mould growth on the surface. Over time, those fungicides deplete. When they are gone, mould can colonise the silicone bead from the surface inward.
Surface mould that still wipes away means the fungicide is still partially active. Mould that no longer cleans off means it has penetrated into the sealant itself. At that point, wiping is not a solution. The sealant must be fully removed and replaced.
If mould appears to be growing from behind the silicone surface rather than on it, that is a different situation entirely. It indicates moisture is coming from behind the tiles rather than from the shower interior. That is a waterproofing failure, not a sealant failure.
The most common cause of sealant failure in South East Queensland is building movement. Brisbane, Gold Coast, and Sunshine Coast homes sit on reactive clay soils that expand when wet and shrink when dry. That cycle of expansion and contraction applies repeated mechanical stress to every joint in a shower.
Sealant in these homes often fails earlier than the three to five-year estimate because the joint it occupies is being flexed continuously with rainfall patterns. A shower that has been resealed twice within three years is usually sitting on reactive soil rather than suffering from poor workmanship.
This is also why the material in movement joints must be silicone specifically. Cement grout placed in a corner or wall-to-floor junction will crack within months in a high-movement environment.
Knowing when to reseal is not always obvious, particularly when the actual damage is hidden behind tiles.
Warning Sign | What It Likely Means |
Black or pink mould in the silicone bead that no longer wipes away | Fungicide depleted; sealant must be replaced |
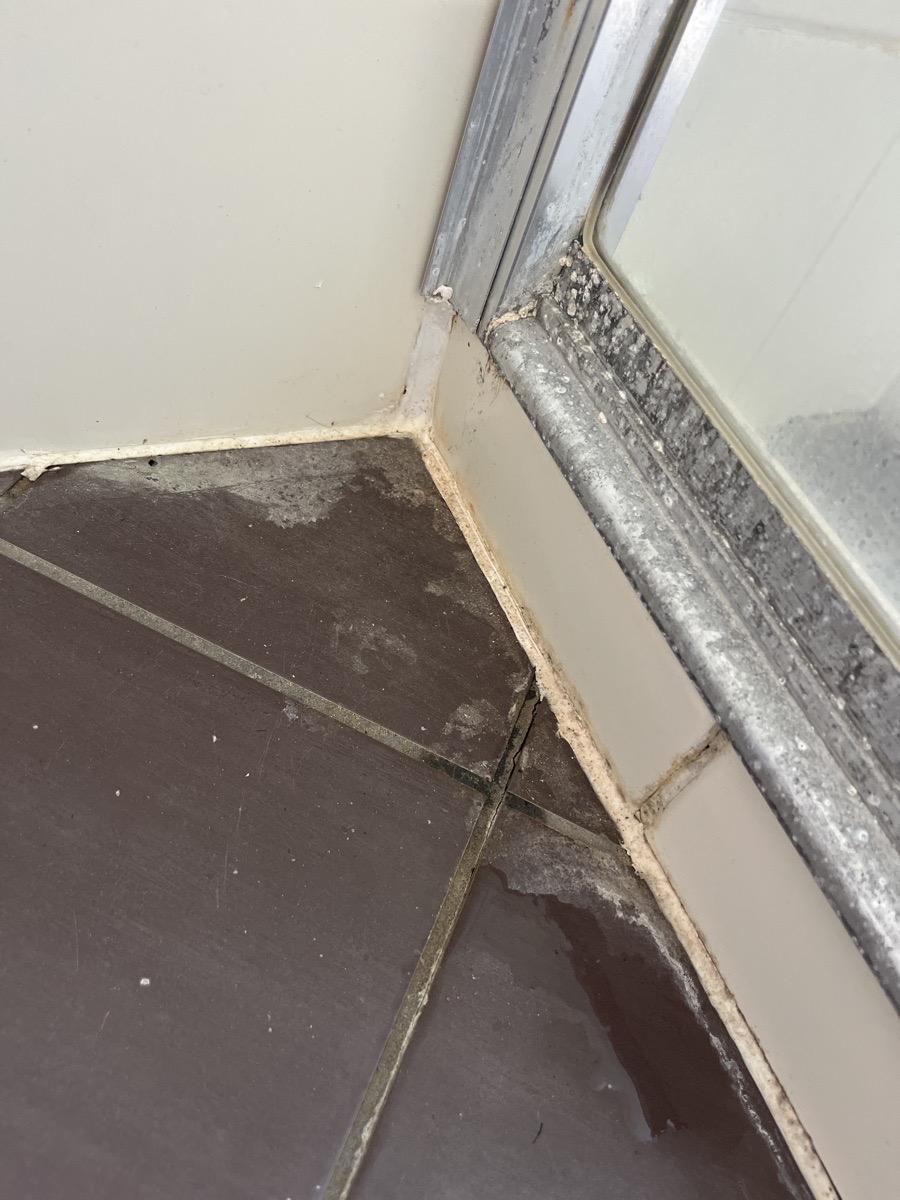
Cracking, shrinking, or peeling sealant in corners | Sealant has failed; water is entering |
Calcification on the bathroom floor around the shower | Dissolved minerals in leaked water have dried on the surface |
Water stains on the ceiling below the bathroom | Active leak from the shower base or walls |
Hollow sound when tiles are tapped | The tile adhesive has failed due to water intrusion |
Swollen or warped skirting boards near the shower | Water has migrated from the shower along the floor cavity |
Dark or discoloured tiles in the lower shower wall area | Tiles are waterlogged from behind; substrate is saturated |
Damp smell with no visible source | Moisture sitting behind tiles or in the floor structure |
Grout is crumbling or absent in the shower corners | Movement joints have been filled with rigid grout incorrectly |
Shower screen frame pulling away from the wall | Frame sealant has failed; water is entering at the junction |
A shower showing several of these signs at once has likely been leaking for some time. Early resealing costs considerably less than the repair work needed after water damage has had time to accumulate in the substrate.
Professional shower resealing follows a specific sequence. Applying fresh silicone over old sealant is not resealing. It is layering, and it will fail within months. Proper resealing means the old material comes out completely before anything new goes in.
The shower is assessed to identify which joints have failed, whether there are signs of water behind the tiles, and whether the substrate is still structurally sound. A soft or spongy substrate changes the scope of work significantly because surface sealant will not hold on a compromised base.
All existing silicone is removed using a utility knife, silicone removal tools, and chemical softeners where the old product has fully cured and bonded. This step takes time, but it cannot be shortened. Silicone does not bond to cured silicone.
The joint area is cleaned to remove soap scum, mould residue, and any remaining sealant fragments. The surface is then dried completely. Silicone applied to a damp surface will not cure correctly, and the bond will fail.
Tape is applied on both sides of the joint to ensure clean, consistent lines. This also protects the tile surface during application.
A continuous bead of mould-resistant, flexible, bathroom-rated silicone is applied to each joint. The bead is then tooled to create a concave profile. A concave bead sheds water away from the joint toward the drain. A convex bead collects water against the tile edge and will fail faster.
The sealant cures to a usable state within 24 hours in a well-ventilated bathroom. Full strength is typically reached between 48 and 72 hours, depending on the product, temperature, and humidity.
This is one of the most searched questions on this topic, and the answer is practical rather than complicated.
Most bathroom-grade silicone sealants allow shower use within 24 hours. However, after 24 hours, the sealant has not reached full strength. Factors that affect how quickly a full cure is achieved include:
Factor | Effect on Cure Speed |
Temperature at time of application | Warmer conditions (20 to 30 degrees) speed up curing |
Humidity during curing | High humidity in an unventilated bathroom slows curing |
Ventilation | A bathroom with an exhaust fan or open window cures faster |
Sealant product type | Premium neutral-cure silicones often cure faster than acetoxy types |
Thickness of bead applied | Thicker beads take longer to cure through to the substrate |
In Queensland, where bathroom humidity is high for much of the year, a conservative 48-hour wait is a more reliable benchmark than the minimum 24 hours stated on most packaging. If a professional carried out the work, their specified wait time for the product they used is what should be followed.
Not all shower resealing is the same. The requirements differ depending on which zone of the shower is being addressed.
The junction between the shower floor and the walls is the highest movement joint in the entire shower. It accumulates water, experiences the most temperature variation, and bears the weight of a person standing in the shower every day.
For a shower tray, the silicone at the perimeter of the tray must be a fully flexible, mould-resistant bathroom sealant. Many older showers have cement-based filler at this junction rather than silicone, which will always crack eventually in a structure with any natural movement.
Shower trays also need to be inspected before resealing. An acrylic or fibreglass tray that has a visible crack is a structural failure of the base itself. Resealing around it is a temporary measure at best because the tray continues to flex, and the sealant bond at the crack will not hold permanently.
The shower screen is sealed to the wall tiles and to the shower floor at its base. These joints are particularly vulnerable to mould because the aluminium frame profile traps moisture inside the channel itself.
Resealing a shower screen is not as straightforward as it looks. Applying fresh silicone to the outside of the frame without removing it first may still leave failed sealant or cracked grout hidden underneath the frame base. In many cases, the screen must be removed and refitted to address what is beneath it properly.
A critical rule that most guides miss: silicone on a shower screen should only be applied to the outside of the frame. If silicone is applied to both inside and outside, water running down the glass and collecting inside the aluminium channel has nowhere to drain and becomes trapped. This stagnant water accelerates frame corrosion and promotes mould growth inside the frame itself.
Resealing shower tiles refers to the silicone in the corner and edge joints around tiled surfaces, not the grout between individual tiles. These are the movement joints at internal corners and at junctions between different tile planes.
If the concern is specifically about the grout between tiles rather than the corner sealant, that is a regrouting question rather than a resealing question. The two services address different materials in different locations. Confusing them is a common source of homeowner frustration when a reseal does not resolve what was actually a grout problem.
For grout that has specifically deteriorated, shower grout repair covers the assessment and options in full.
Grout sealer is a different product from silicone sealant. It is a penetrating liquid applied to cement grout that is still structurally intact but has become porous. It reduces water absorption and makes grout easier to clean.
Grout sealer is a maintenance product. It does not repair cracked or crumbling grout. It also does not replace the function of silicone sealant in movement joints. If both the grout and the sealant have deteriorated, applying grout sealer alone will not stop a leak.
These two services are frequently used interchangeably, but they address different materials.
Feature | Regrouting | Resealing |
Material addressed | Rigid grout between tiles | Flexible silicone in movement joints |
Location in the shower | Between individual tiles | Corners, base of walls, screen frame |
Flexibility required | No | Yes |
Frequency of replacement | Rarely, if installed correctly | Every 3 to 5 years |
Can it fix a leak by itself? | Only if grout is the sole entry point | Only if joints are the sole entry point |
Often done together? | Yes, when a shower shows multiple types of deterioration | Yes |
The Shower Man Melbourne makes a useful distinction: grout, when installed correctly, is a permanent installation and should not need routine replacement. Sealant, by contrast, is consumable. It contains fungicides that deplete and a flexible body that fatigues with movement. Expecting grout to behave like sealant or vice versa is how most DIY repairs go wrong.
When both have failed, doing one without the other wastes money. Fresh grout with old, cracked sealant still leaks at the corners. Fresh sealant with crumbling grout still allows water behind the tiles through the tile joints.
For a full guide on what regrouting involves as a standalone process, How to Regrout a Shower covers it in detail.
Australian showers are governed by AS 3740 (the Waterproofing of Domestic Wet Areas standard) and the National Construction Code. These standards have significant implications for what shower resealing can and cannot achieve.
AS 3740 received a major update in 2021. It specifies requirements for waterproofing membranes, drainage systems, water stops, and the materials used at junctions within wet areas. Key requirements that affect shower resealing include:
The shower floor must have a minimum drainage fall of 1:100 toward the waste outlet in an enclosed shower, and 1:80 in an open or wet room configuration. This means the floor must slope at least 1mm for every 100mm of distance from the wall to the drain. Without this fall, water pools against the sealant and grout joints rather than draining away.
A water stop is mandatory at the shower entry. This can be a masonry hob (typically 80 to 100mm high, and timber hobs are never compliant), an aluminium angle protruding at least 5mm above the finished tile height, or a step-down into a recessed base. Without a compliant water stop, water can escape onto the bathroom floor, and compliance with AS 3740 cannot be achieved.
A puddle flange must be present at the drain outlet, with the shower grate positioned at least 50mm from each wall, and the drain pipe sleeving into the flange correctly. Missing or incorrectly installed puddle flanges allow water to bypass the drainage system entirely.
Homes built before 1998 were not required to meet the waterproofing standards that apply today. Many older Australian showers were built with limited or no membrane waterproofing beneath the tiles. In these showers, the silicone sealant at the surface joints is the only water barrier present.
When that sealant fails in an older shower, there is nothing beneath the tile surface to catch the water before it enters the wall or floor structure. Resealing is not just cosmetic maintenance in these homes. It is the primary structural defence against water damage. And when it fails, the consequences arrive faster than in a modern waterproofed shower.
If a shower in an older home is showing persistent signs of leaking despite having been resealed, the absence of a waterproofing membrane is a likely contributing factor. The shower waterproofing guide covers what proper membrane waterproofing involves and when it becomes the right solution.
Non-compliant materials used in movement joints, such as cement grout, used where flexible silicone is required, can void insurance claims for water damage in some policies. If a leak causes damage to a neighbouring property or to structural elements of the home, an insurer may investigate whether the shower was maintained to a compliant standard.
This is not a common outcome, but it is a real one, and it applies particularly in investment properties where maintenance records matter.
Shower resealing is the right solution when the sealant in the movement joints has aged, cracked, or moulded. It is not the right solution when the problem is deeper than the joint surface.
In these scenarios, the appropriate service is a shower repair or full waterproofing rectification rather than a surface reseal. If the source of the water movement is not obvious, a leak detection assessment identifies exactly where water is entering before any repair work is committed to.
DIY resealing is available as an option in the sense that silicone sealant is sold at every hardware store across Australia. Whether that DIY attempt actually stops the water is a different question.
The most consistent failures seen in DIY shower resealing are:
Professional resealing comes with a workmanship guarantee. If the reseal fails within the warranty period, the work is rectified at no additional cost. A DIY reseal that fails means starting the process again, including complete removal of the freshly applied product.
There is no single universal answer because the right interval depends on the product used, the quality of the original installation, the frequency of shower use, and the conditions the sealant is exposed to.
As a practical guide for Australian households:
A shower reseal done at the right time costs a fraction of what delayed maintenance eventually requires. Whether the job is a routine sealant replacement, a combined regrout and reseal, or the start of a larger waterproofing repair, the scope becomes clear once the shower is properly assessed. The surface rarely tells the full story.
Aquatech Grouting provides shower resealing, regrouting, waterproofing repair, and leak detection services across Brisbane, the Gold Coast, and the Sunshine Coast. Every job begins with an assessment of the full scope, not just what is visible at the surface. Contact Aquatech Grouting to book an assessment for your shower.
In most cases, yes. Standard shower resealing is a surface process. Tiles are only removed when the substrate behind them has been damaged by water intrusion or when the waterproofing membrane beneath needs to be replaced.
Water entering through failed sealant joints over time damages the tile adhesive, causes tiles to become hollow or loose, softens wall linings, promotes mould in wall cavities, and can compromise the floor structure beneath the shower. The longer the water intrusion continues, the more extensive and expensive the repair becomes.
Silicone should only be applied on the outside of the shower screen frame. Applying sealant to both the inside and outside of the frame traps water inside the aluminium channel, leading to stagnant water, accelerated frame corrosion, and mould growing from within the frame profile.
DIY resealing can be effective for minor maintenance where the old sealant is mostly intact and there are no signs of water damage. For showers where sealant has fully failed, where water damage is suspected, or where the problem has recurred after a previous attempt, professional application is more reliable because complete sealant removal and surface preparation are carried out correctly.
No. The surface must be completely dry before silicone is applied. Sealant applied to a damp surface will not achieve a proper bond. If the shower is also leaking actively, the moisture source must be identified, and the cause addressed before surface treatment is appropriate.